Logisim is a tool for designing and simulating digital logic circuits. It is an Educational tool so it’s simple enough to facilitate learning the most basic concepts related to logic circuits. Although the development of Logisim is suspended long ago its still used widely for Education purposes.
Today we will guide you on How to install Logisim on windows.
Note: Only Applicable for Windows. If you have Mac with Newer software you have to take some additional steps in order to get it working. And we are working on an Article for it.
Step By Step Guide on How to Install Logisim
Step 1 :
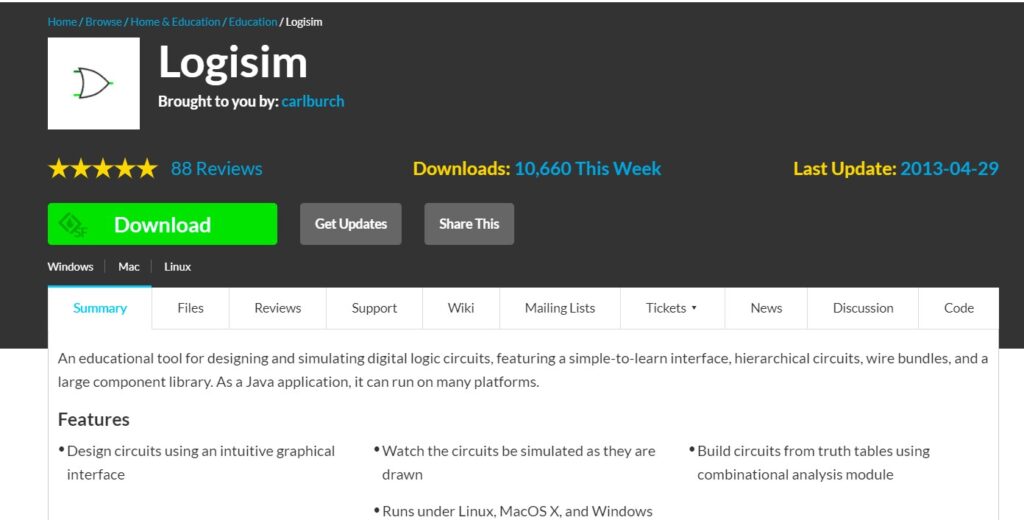
Go to the Logisim Download page. And Press Download read Step 2 before you save the File. Link Given Here
Step 2 :
The first thing is to save the File where you use because Logisim is .exe software that doesn’t need any additional installation. The Download File is the App itself.
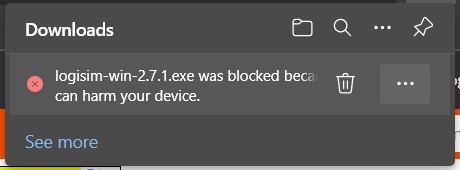
Secondly, When you press Download Most Probably You gonna receive a Prompt saying That the Download was Blocked. Press 3 dots and press “Keep” or “download anyway”.
Note: This Download Link Here is Official for Logisim. So it’s safe.
Step 3 :
Open the Downloaded Logisim. If Java File is already present you are good to Go.
If Not Then you will get a prompt about it. Follow the Next steps.
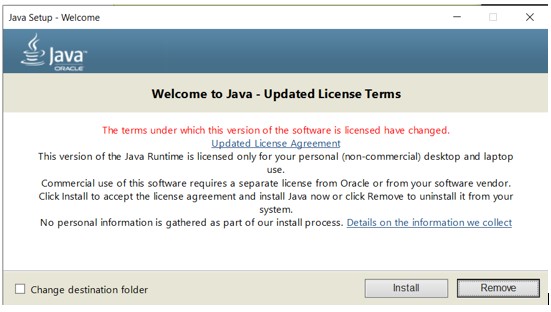
Step 4 :
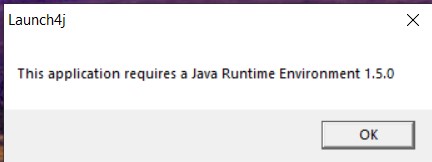
If Java is Not downloaded it will prompt you to as in image. Press okay and it will automatically take you to the Java download page.
If it didn’t take to Java download Page. You can follow the link below.
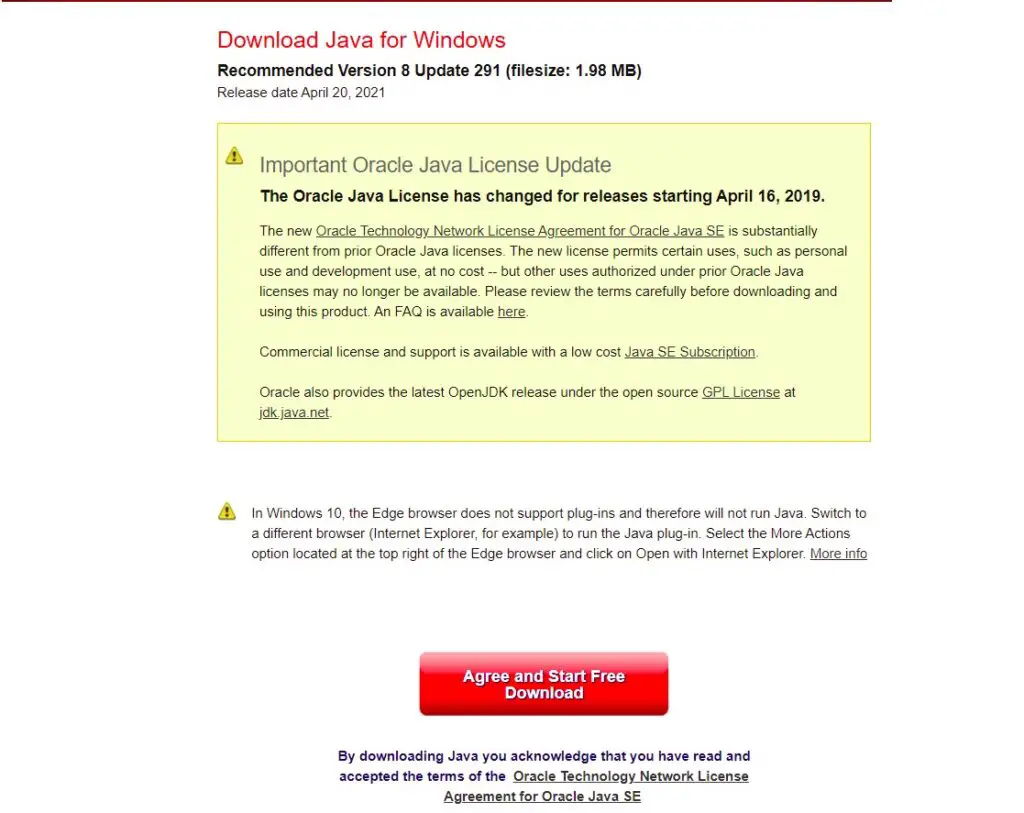
Step 5 :
Once you are on the Download page. Press “Agree and Install Free Download”. Then open the downloaded file and press “Install”. And wait for it to download and Install. And Finally Press “close” once it finishes.
Step 6 :
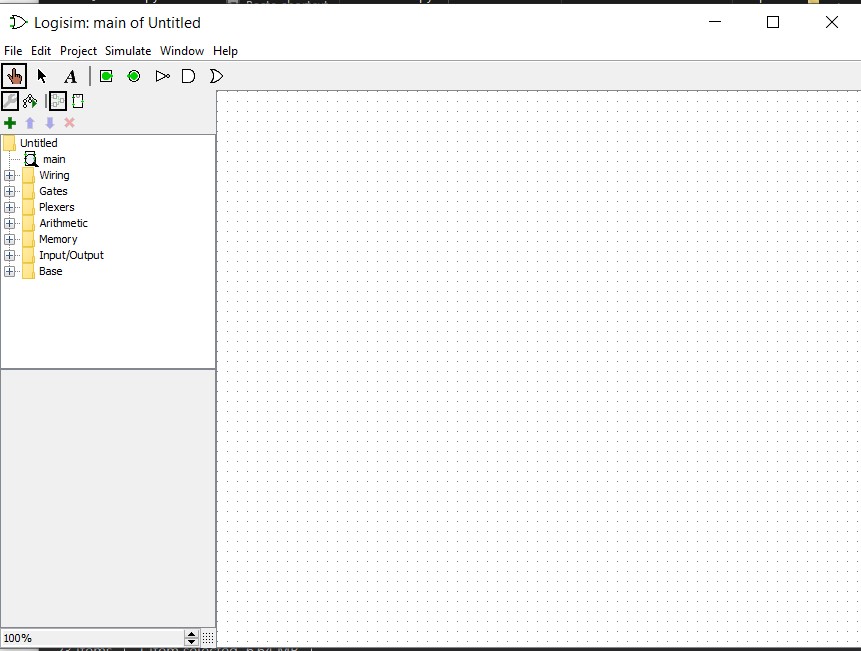
And now you can open Logisim (The first file you downloaded). And you are Ready to Go.